How to successfully create photos of Mars
Beating refraction and seeing
How to succeed at creating pictures of low-lying planets, despite atmospheric refraction and turbulent air.

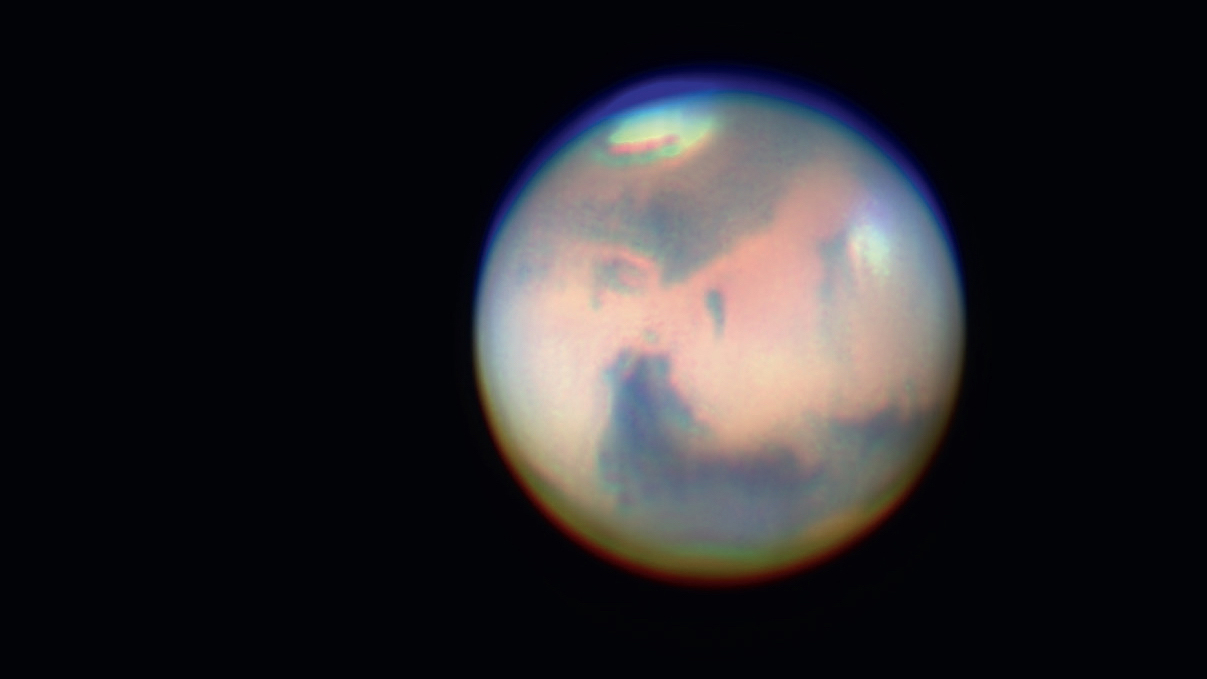
In planetary photography, RGB technology has established itself with fast industrial cameras featuring highly light-sensitive monochrome sensors. Successive video sequences are created in the RGB channels and the results are combined into a single colour image. However, it is difficult to photograph planets close to the horizon.
Correctors for atmospheric refraction
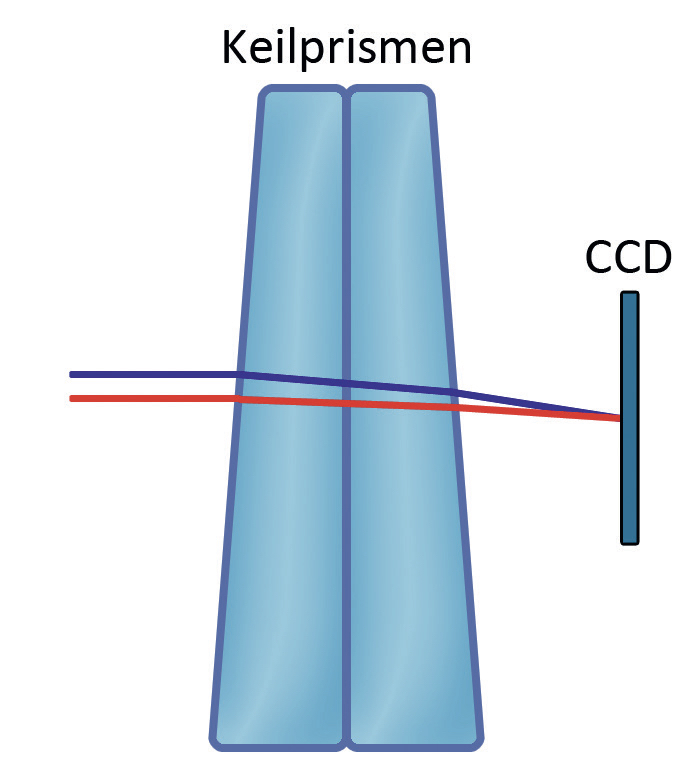
 Fig. 3: Principle of operation of an ADC. Mario Weigand
For a few years now, corrector prisms have been available on the market under the acronym ADC (atmospheric dispersion corrector), which can be used to compensate for the effects of refraction. The operating principle: two wedge prisms, which can be rotated relative to one another, introduce an adjustable dispersion that compensates the existing light dispersion. The easiest way to adjust it is visually, until no colour fringing is visible. Since most correctors shift the Mars image as a whole, a planetary camera’s small field of view can be an obstacle here. Once set up, the eyepiece is exchanged for the camera and images can be created that are not affected by refraction.
The second problem: the seeing
The second major problem is the seeing. The image of the planet is constantly distorted by atmospheric turbulence. If the light’s path through the atmosphere is long, it is likely to pass through more turbulent air masses. Seeing thus also depends on the object’s altitude. Long-wave light, i.e. red or near infrared, is less disrupted than short-wave light, i.e. blue.
Is an IR pass filter a life-saver?
The dependency of the seeing on wavelength can be exploited for photography. One frequently used approach is to use a less affected luminance channel. The RGB data is then used only to provide the colour for the image. If the seeing is poor, an IR pass filter, which allows light from about 650nm to pass through, can be used for luminance data. This results in an IR-RGB image. Fig. 4 shows an example result that was produced during the Great Mars Opposition in 2003.
 Fig. 4: Example of the use of an IR pass filter: Mars was very low in the sky in 2003. If the seeing is poor (left), the image looks very blurred. The IR-RGB method (centre) delivers clearer albedo structures, but still does not provide the quality of an RGB image with better seeing (right). All images were captured with a 150mm Maksutov telescope. Mario Weigand
When the seeing is poor, many details are more visible with an IR luminance filter. However, there are also two drawbacks: firstly, the telescope resolution depends on the wavelength. In the infrared, it is around a factor of 1.3 worse than in the green. On the other hand, the colouring changes dramatically. Mars is, after all, not just red, the brightness values of all colour channels play a role if it is to be reproduced naturally. While the albedo of the Martian surface dominates in the red, the green channel is important for the appearance of haze and dust clouds. The blue channel shows mainly clouds.
The technique is therefore a compromise. More albedo details are visible when the seeing is poor – even if they appear somewhat rougher. If conditions are not quite as bad, the red channel for luminance offers a middle way.
Reducing exposure times
A rapidly moving planet will also cause motion blur if the exposure time is too long. For example, a better result may be achieved by setting the signal gain to high, and accepting increased image noise, to allow the shortest exposure time possible.
Here too, however, you should not expect miracles, because the image distortions when the seeing is poor are not just about motion blur. Even if the seeing could be virtually frozen, the planet image will still be somewhat blurred. Success depends crucially on the nature of the interference. High-frequency seeing acts like a diffusing screen, and shortening the exposure time does not help. If the turbulence appears more like calm water waves with an otherwise sharp image, this approach in combination with multipoint alignment is likely to be successful.
Refraction is easy to control. Poor seeing can be dealt with to a limited extent, but the old maxim still applies here: nothing beats calm air!
Author: Mario Weigand / License: Oculum Verlag GmbH
